3.2" TFT 400*240 SD Touch Module With Shield for Arduino Due
Introduction :
We know that we could find many examples for Arduino and TFT LCD to work together, Arduino UNO with 2.8"/3.2" TFT screen, or Arduino Mega with 2.8"/5.0" TFT screen. They are all working very well. However, if you play with it, you may find they are rather blunt, not swift enough to show a picture quickly. In fact, we've made some TFT shields for Arduino Uno/Mega ever. But we feel they are all not good enough.
Why ? You know, Arduino UNO/Mega works on 8-bit ATMega328/1280/2560. Those chips are not powerful enough for TFT screen. While Arduino Due comes, we feel that: oh, it is the time !
Here comes it !

Arduino Due is based on 32-bit ARM processor, and it is much more powerful than Arduino UNO/Mega. So if you play Arduino DUE and TFT, you feel everything abviously runs faster than Arduino Mega. You could display a picture shortly.
Specification :
Our shield is designed for Arduino DUE. It is not compatible with Arduino Mega/Mega2560. Please DO NOT insert it to Arduino Mega/Mega2560. Otherwise the TFT Screen might be damaged.
Our TFT shield doesn't cover all the female pins like most of other TFT shield. We know that sometimes we need other modules connected with Arduino at the same time. To make things easier, our designing also leaves space for a Sensor Shield. Users don't need to spend much time on wiring.

As shown in the picture above, most of the interfaces are available, including UART, I2C, PWM and analog ports.
1) Plug in and Play
2) 5V Power Supply
3) 3V3 TTL data interface
4) 3.2" 240*400 TFT Screen with SD and Touching Control
Examples :
Here you need to download 3 libraries :
1、tft_shield
2、touch
3、Adafruit-GFX-Library
Place those 3 library folders under <arduinoIDE>/Libraries/. You may need to change the folder name. Restart the IDE.
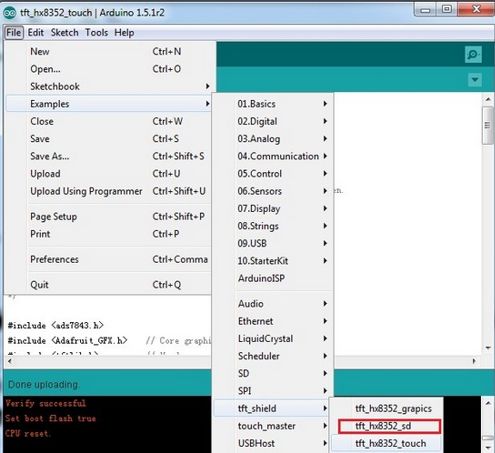
Open the tft_hx8352_touch example :
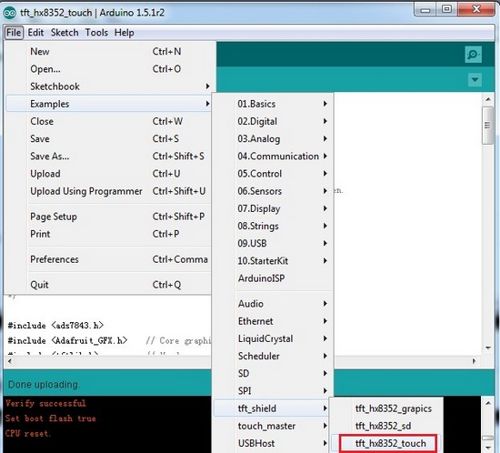
Upload it to Arduino Due. Then you could draw on the screen.
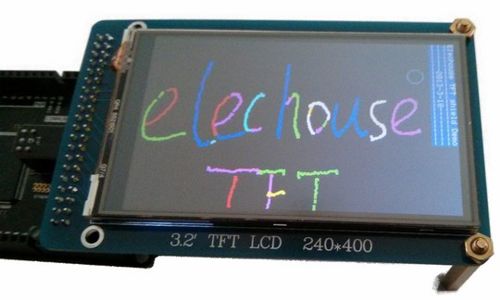
Then open another example tft_hx8352_sd :
Download the example pictures from here.
Place those pictures under the root director of SD card. Keep the file names as :
star0.bmp
star1.bmp
star2.bmp
star3.bmp
Please note that so far the code only supports BMP 16bit format.
Insert the SD into the slot on the back side of TFT screen.
Open Serial Monitor of Arduino IDE :
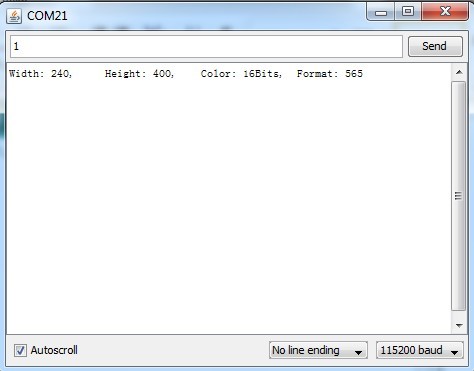
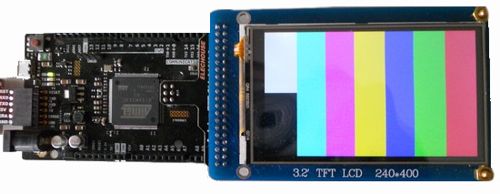
You could send charactor "1" or "2" or "3" to load pictures. Make sure your Arduino DUE is connected to PC via Programming USB.
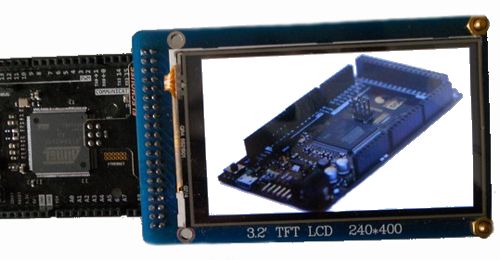
In this example, it loads new pictures without clearing the screen first. You could program to change it if necessary.
Documents Download :
1、Pin Mapping.pdf
2、Screen IC Controller HX8352
3、Touch Controlle XPT2046
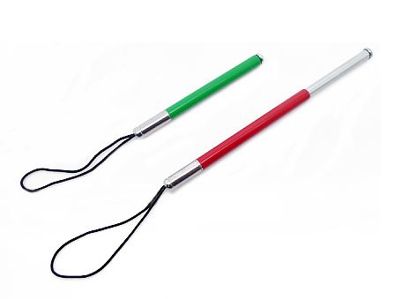
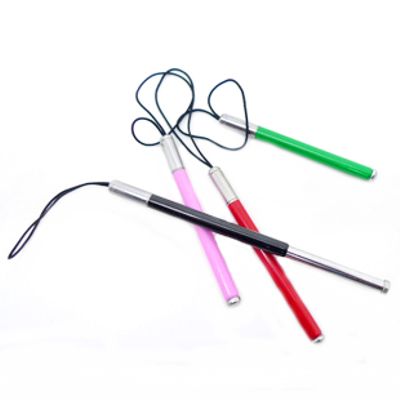
We will send free gift together with this item : universal resistive touch pen :
Product List :
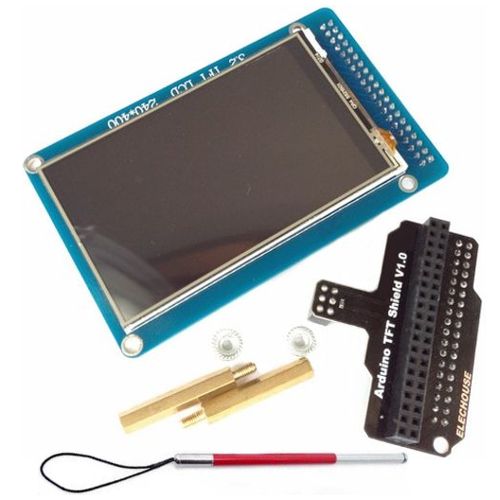
TFT 3.2" 400*240 With SD Touch Module ×1
TFT Shield ×1
Copper Fixture ×2
Universal resistive touch pen ×1

Join our newsletter today, to get latest product information and promotion code.


